

Wire Wrapped Druzy Earrings Tutorial
Some DIY goodness ♥︎ LEVEL: Beginner
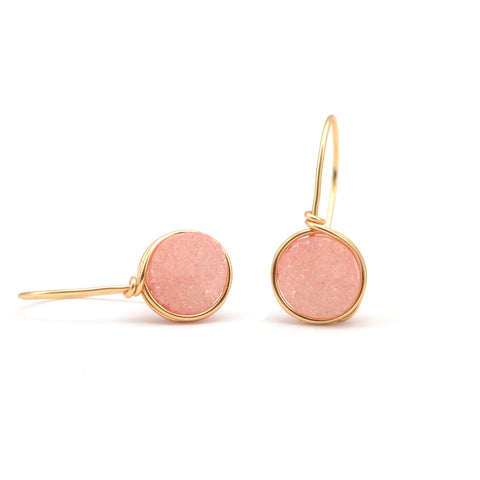
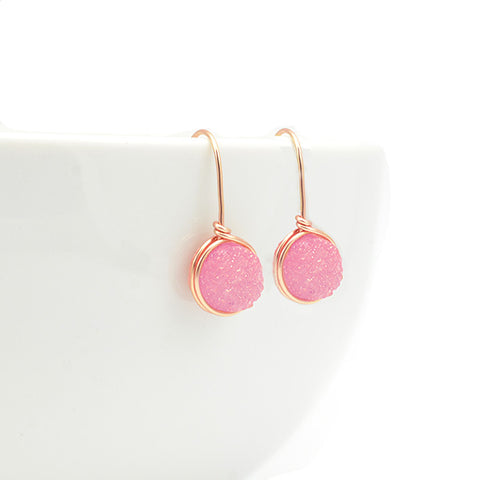
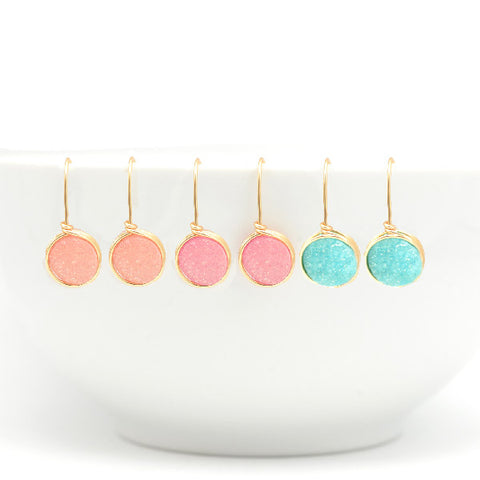
These wire wrapped druzy earrings are GORGEOUS and oh so easy to make!
Supplies Needed:
(psst! here's a kit that has the supplies you need to make these)
- 2 druzy quartz beads, round 10mm - drilled
- 16-20” 14k gold-filled wire, round, 20 gauge, half hard

Materials Needed:
- 1 Pair of Flush Cutters Size 5 (able to cut 20gauge wire)
- 1 Pair of Flat Nose Pliers
- Polishing Pad (600 grit shown) or emery board
- optional: 1 pair of multi size round mandrel forming pliers (5, 7, 10mm) OR a pen with a round barrel

Step 1: Cut 16-20" of gold filled wire in half
Depending on how long you want the earring wire to be, cut 16”-20” of gold-filled wire using flush wire cutters (16” is used in tutorial). Cut the wire at the halfway point, creating two pieces of 8”-10” wire.
Step 2: thread the wire through the druzy bead
Start with one druzy bead and insert one of gold-filled wire pieces through the hole. Move the wire through the druzy until you have about 3” of wire sticking up through the top hole.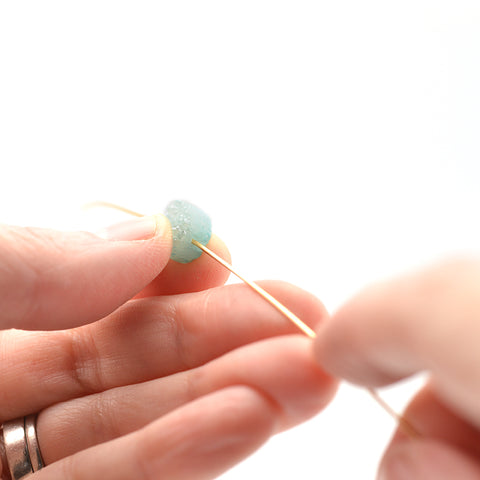
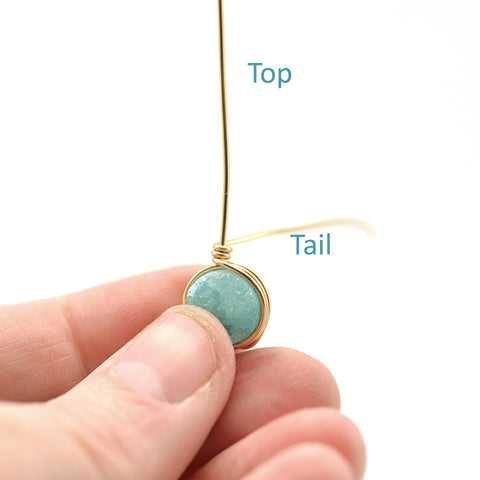
NOTE: The wire at the top will be used to create the earring wire that goes into the ear. We will refer to this as the “top”. The longer piece of wire that is on the bottom will be referred to as the “tail”.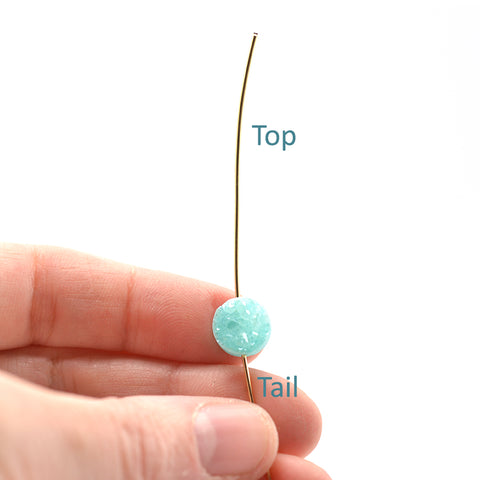
Step 3:
Hold the druzy bead and wire in place with your non-dominant hand. Using your dominant hand, bend the “tail” wire around the curve of the druzy bead as close as you can to the stone. The first wrap will go behind the “top” wire and all around the druzy back down to the bottom hole.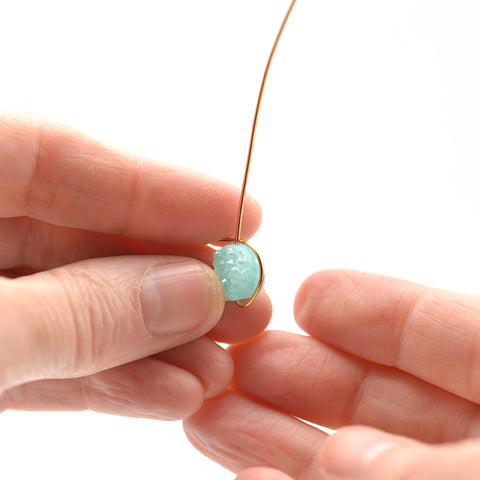
Step 4:
Keeping a firm hold of the bead and wire, use your dominant hand to continue to wrap the wire around the druzy. For the second wrap, the wire will be wrapped in front of the “top” wire. 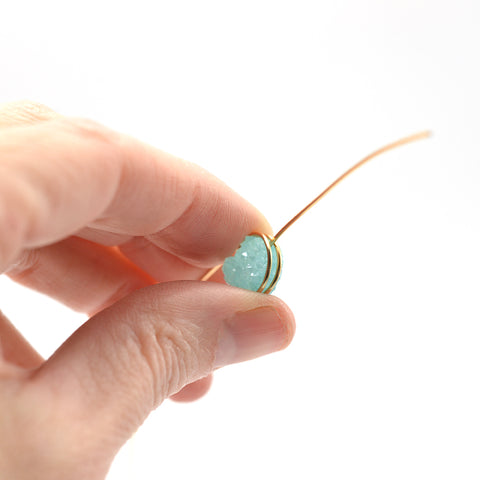
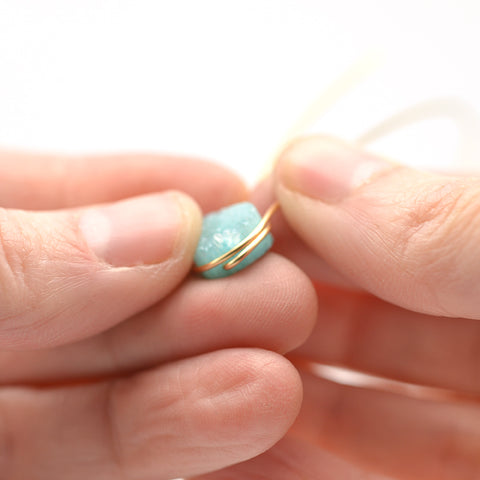
Step 5:
Repeat wrapping the wire around the druzy until you have completed 2 ½ wraps, stopping at the “top” wire.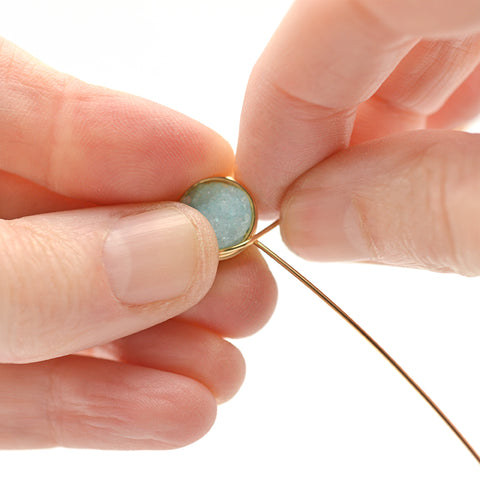
Step 6:
In order to keep the wire wrapped around the druzy bead, you will wrap the “tail” wire very firmly around the “top: wire, as close as you can to the druzy bead. Create two very tight wraps around the “top” wire. You will make another half wrap so the “top” wire is straight up and the “tail” wire is behind the top wire.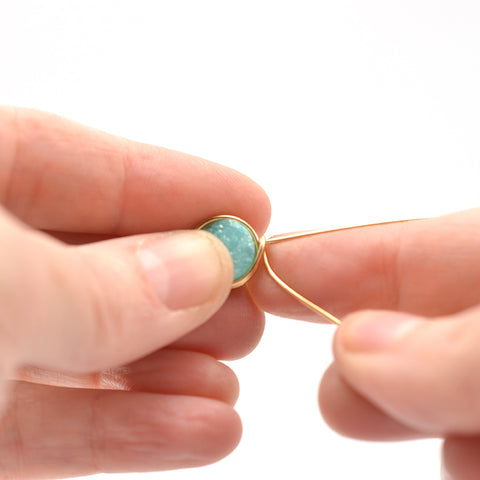
Step 7:
Using your flush wire cutters, cut the wire carefully to trim the excess tail wire. You don’t want to cut the top wire so it’s a good idea to make sure your wire cutters will make a clean cut without snipping the top wire.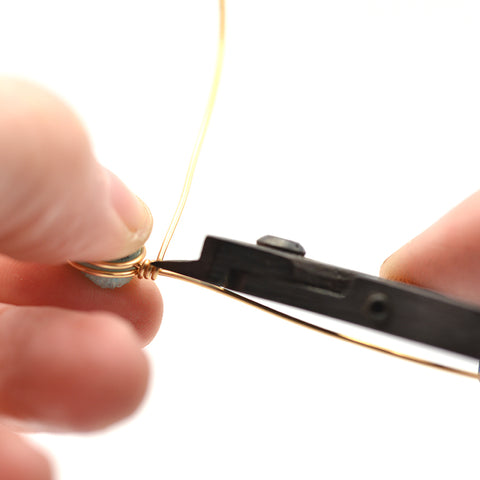
Check Point: You will now have a wire wrapped druzy that has the 2-3” of gold filled wire sticking straight up from the top hole. 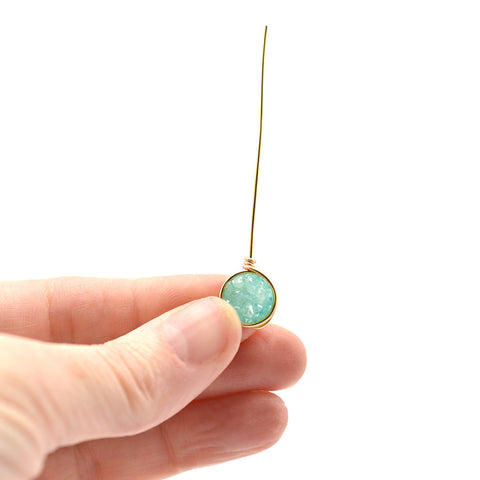
At this point, go back and repeat steps 2 through 7 to make your second earring.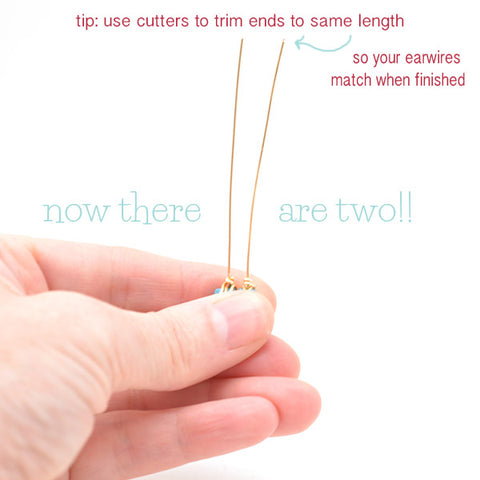
Step 8:
Now we are going to create the ear wire from the top wire. Using the 10mm portion of the forming pliers, place the top wire between the mandrel jaws with the flat side of the druzy facing toward you & toward the round jaw. You can use a round pen barrel if you don't have a pair of mandrel pliers. :-)
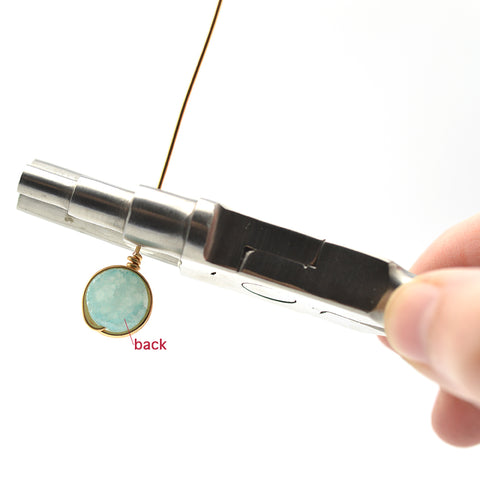
Step 9:
Holding the forming pliers tight in your dominant hand, use your other hand to curve the wire around the round jaw. 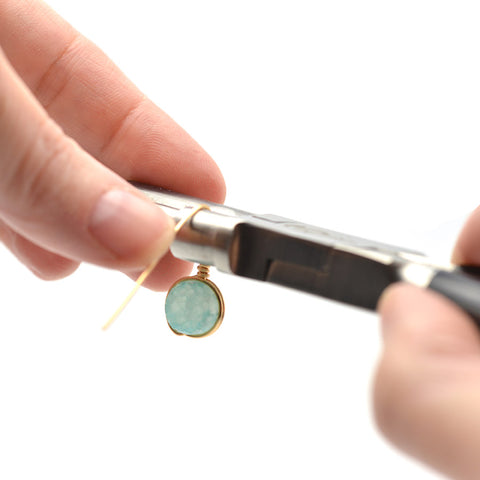
Earring wire should look about like this after you have formed the curve: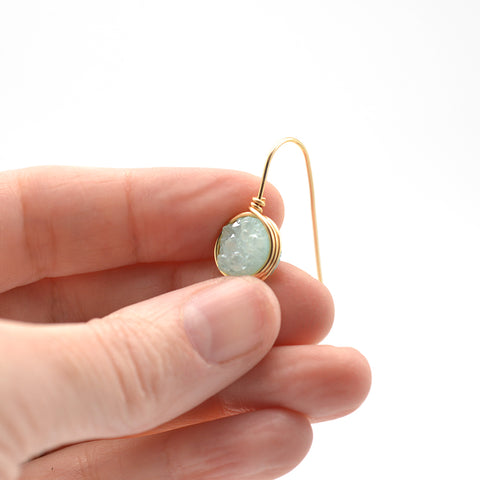
Step 10:
Using the flat nose pliers, bend the end of the earring wire at about 1/4" from the end. Repeat steps 8-10 on the 2nd earring.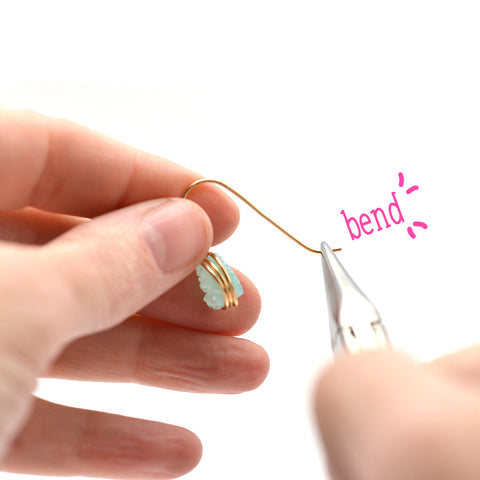
Finishing Step:
Using the polishing pad, file the end of each earring until it feels smooth to the touch. You want to get rid of any sharp edges on the end. 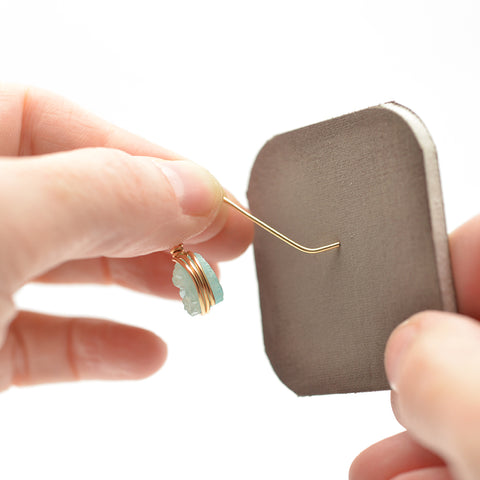

Leave a comment